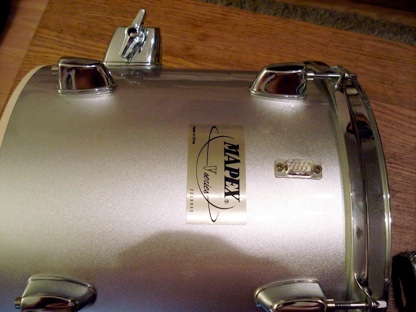
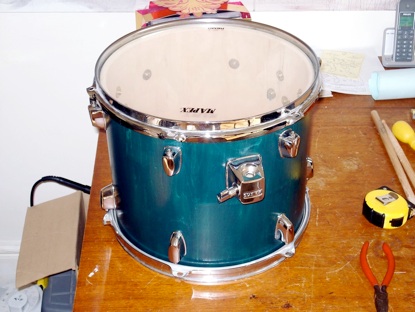
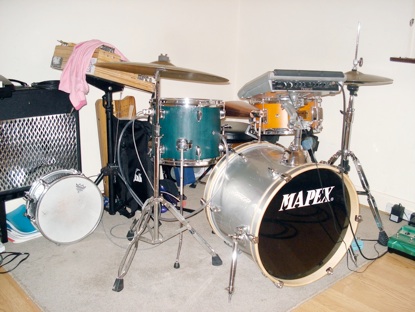
The idea for this instrument was to be able to access the Sidrassi from my drumset, without needing a whole extra table/stand for it. I had modified my previous drumset to have piezos mounted inside them permanently, so I had experience with piezos in drums already, more specifically, what actually ends up working, versus what you think will work. This proved helpful in trying to conceive/assemble this thing. For the first version I decided to use the tiny (12×12) floor tom from my Mapex kit as it’s compact, sounds pretty good, and didn’t cost a lot, so ‘ruining’ wasn’t an issue. I went through a couple of electronic hardware revisions with this version of the tom before deciding that I would move onto a higher quality drum. I purchased a Sonor Force series rack tom and converted it into a floor tom using the legs from my Mapex tom.
Below are some details on each revision of the build as well as a gallery of all of the pictures along the way. But before that is a demo video of what it looks/sounds like.
Version 1
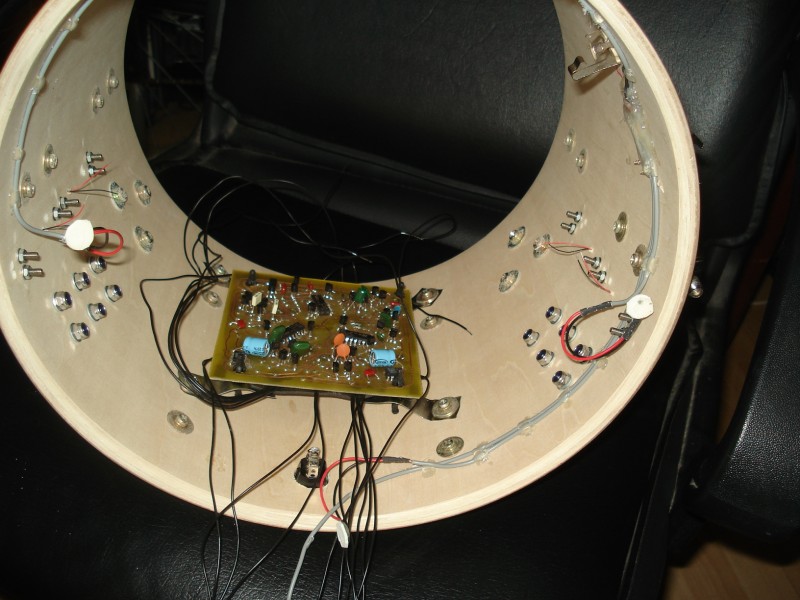
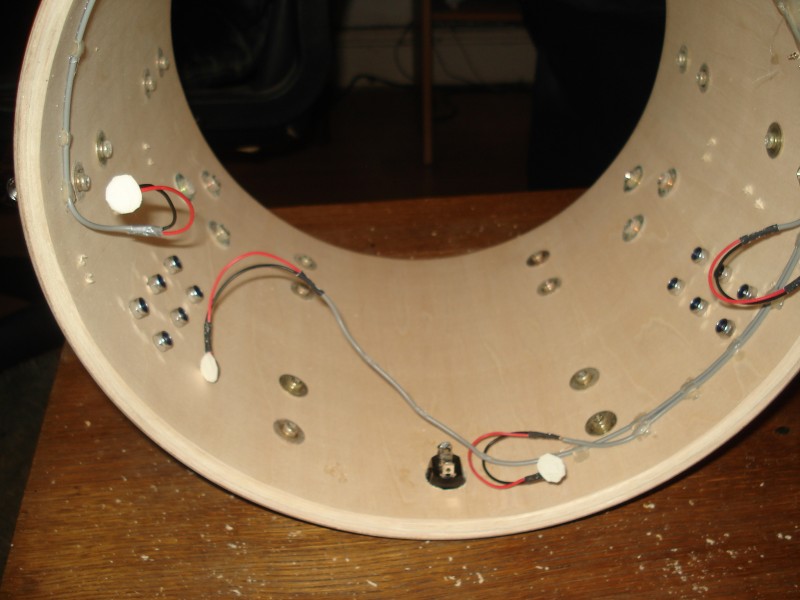
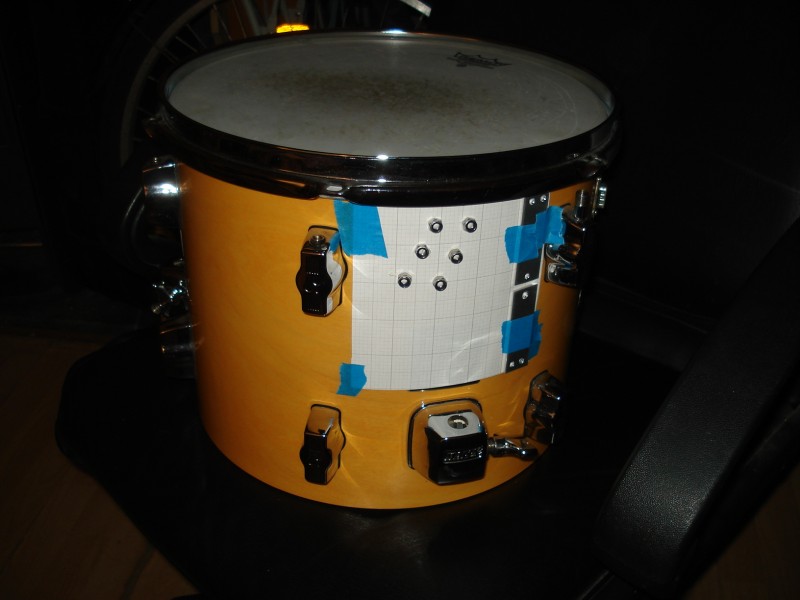
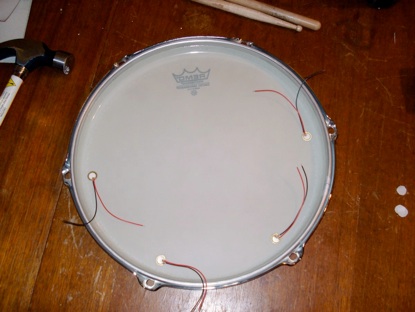
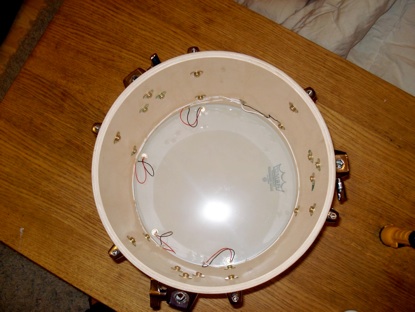
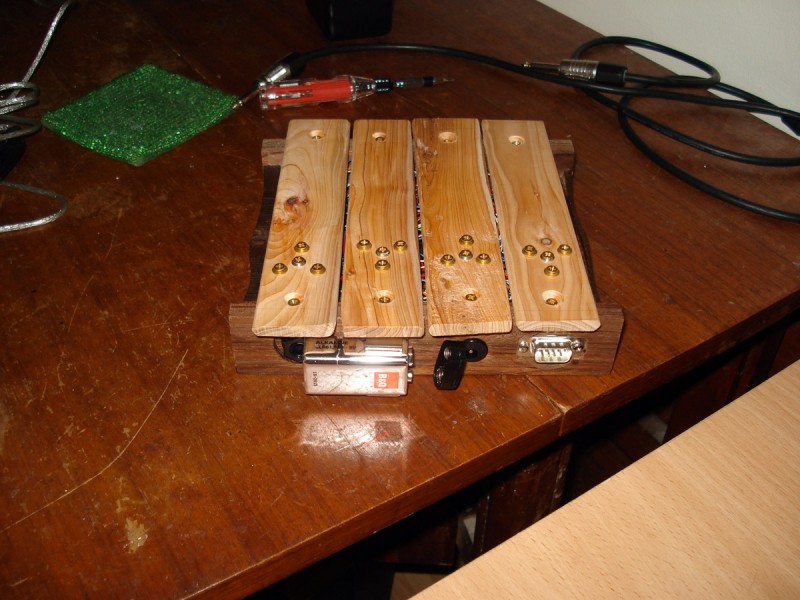
The Sidrassi works by applying pressure, or tapping, the metal bars on the face of the instrument. Underneath each of these bars is a simple piezo. I decided that I wanted to go with three piezos mounted on the head of my floor tom, near the edge, so I wouldn’t accidentally hit them with sticks. At first I was going to use three 1/4” jacks on each instrument, and run three cables between them, but then I considered the practical side of things and went with a 9-pin Serial Port setup. By this point I had upped the piezos to a total of four. So the 9-pin setup gave me four conductors needed, plus an additional shield for the whole thing.
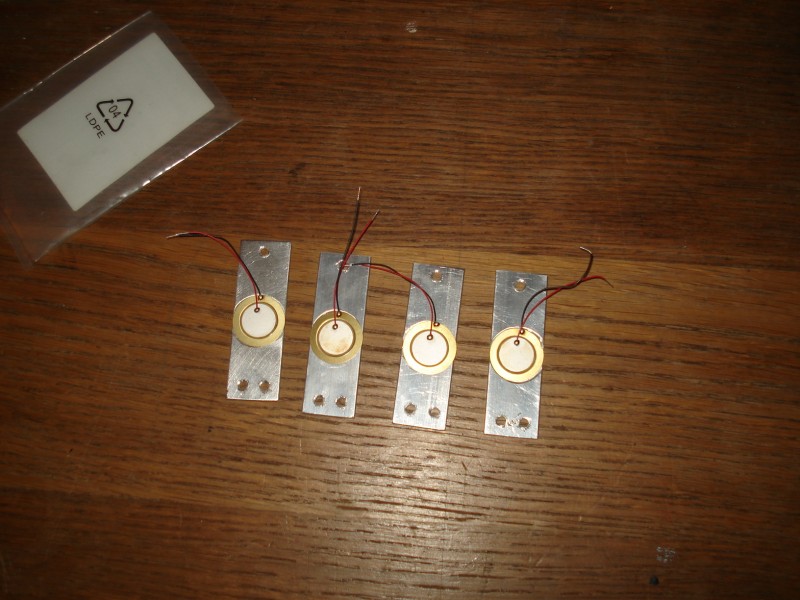
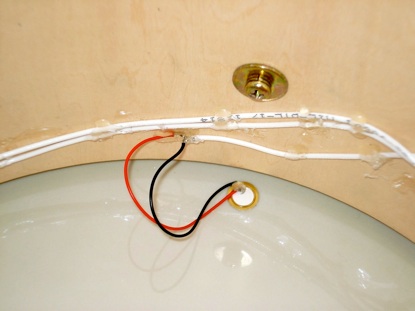
The piezos themselves proved to be the hardest part of the instrument, as what I thought would originally work, didn’t. My plan was to use Piezo Film, which I had used in my first set of contact-miced drums, but the film style piezo didn’t have enough output to drive a six foot cable. I even tried my mint-box piezo buffer, but I got unusably low volume from the Sidrassi. The reason I wanted to use piezo film, was it’s flexibility and light weight would have a minimal impact on the acoustic playability of the tom. I had to abandon the film for flat, disc piezos. Unfortunately the ones available to me, via local retailers, and ebay were too big (over 1”). I couldn’t use anything that big without seriously dampening the drum, not to mention constantly worrying about hitting/breaking the discs while playing. I managed to find some 12mm discs, just like my K&K Spot pickup that worked perfectly when testing alternatives to the piezo film.
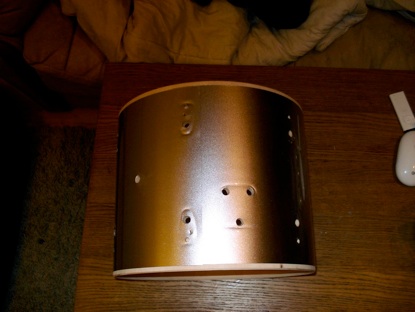
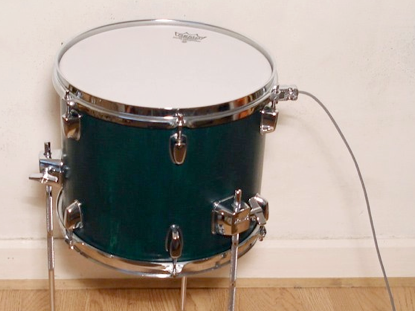
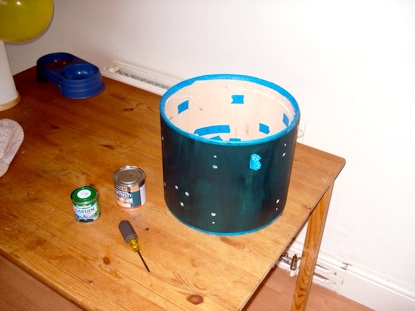
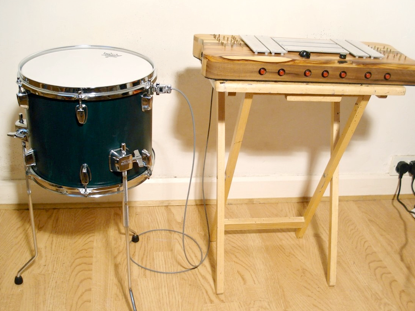
I also decided to give the drum a snazzy new look, since it was now going to be a permanent part of my setup. I stripped the horrible silver wrap, and went with a green wood stain. This step proved to be harder than I thought, but after spending an afternoon on sanding, staining, and varnishing, I got a very good looking drum. A bit darker than I would have hoped, but is still has a nice grain to it.
The piezos work perfectly, and with their small foot print, the tom’s playability is unaffected, although I did go for a single-ply head, instead of the double-ply I generally prefer, to off-set the dampening effect of the piezos. Playing the tom with sticks does not trigger the piezos at all, which I was planning/hoping for, as it would be far less useful if it just hummed away all the time while not in use.
Version 2
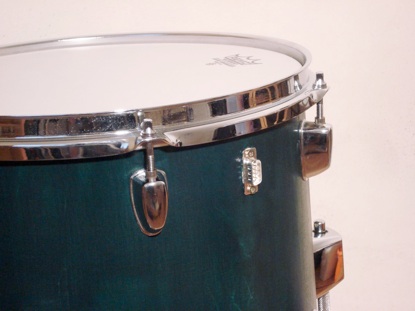
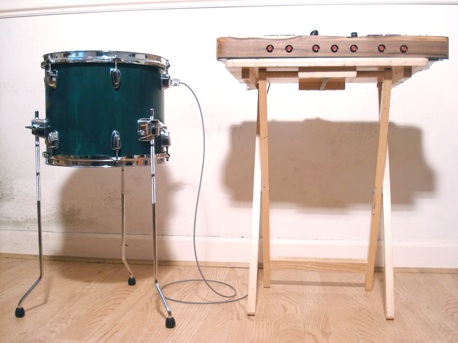
After experimenting/testing/performing I decided I was ready to move onto a higher quality drum. I bought and modified a Sonor Force series rack tom and converted it into a floor tom and added the needed hardware (mainly a 9-pin serial port). At this point I revisited the idea of using Piezo Film as I got tired of having to periodically replace the disc piezos when they would become damaged. I purchased some 4″ piezo film from EMI and tested that and it wasn’t any better than the small piezo film tabs. It turns out film does not produce much output when it comes to the ‘slow flexing’ needed by the Sidrassi. I stuck with the disc piezos and tried some foam-based double sided tape.
At this point I had moved onto using a Tetrazzi (the smaller 4 bar version of the Sidrassi) which works out perfectly as I only need 4 bars anyways.
Version 3 (current version)
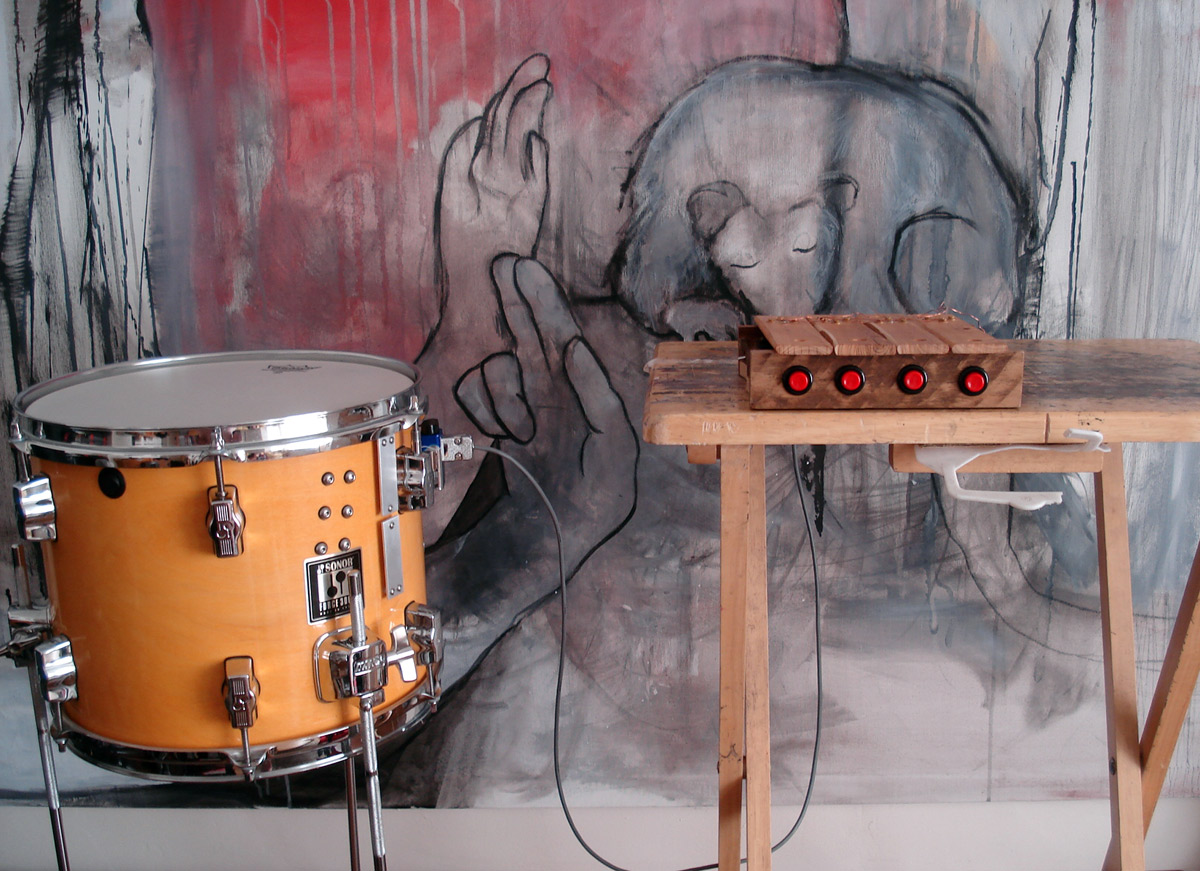
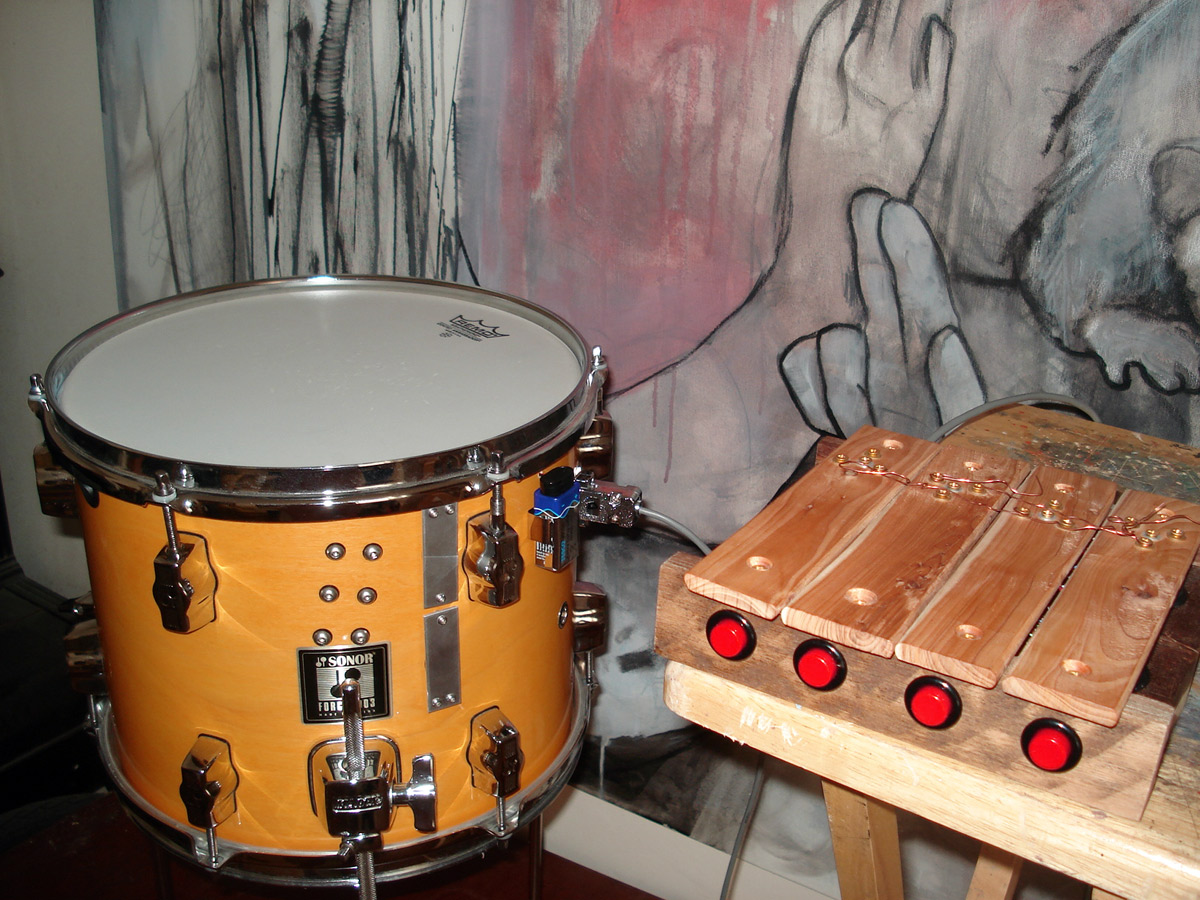
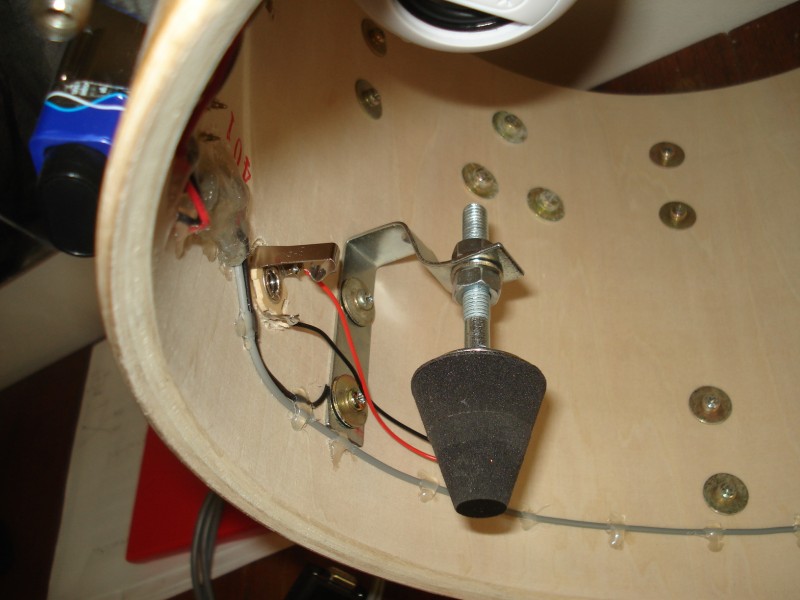
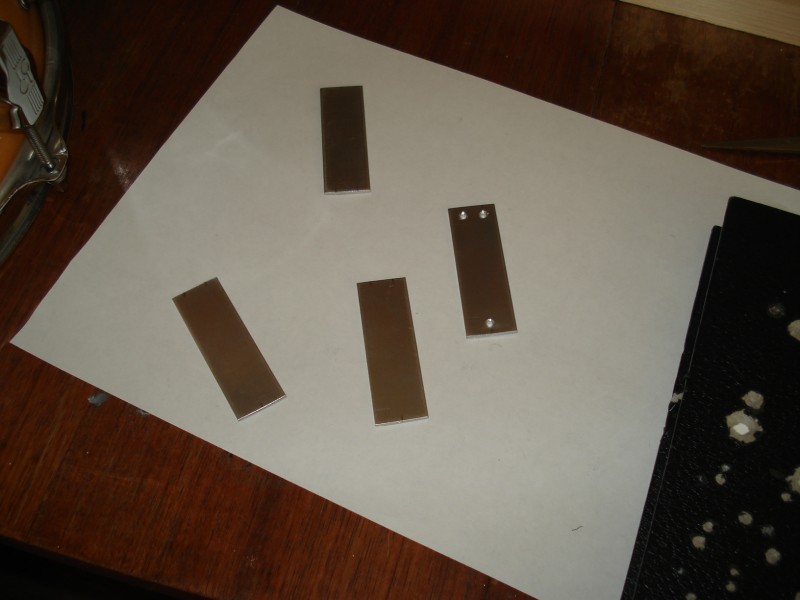
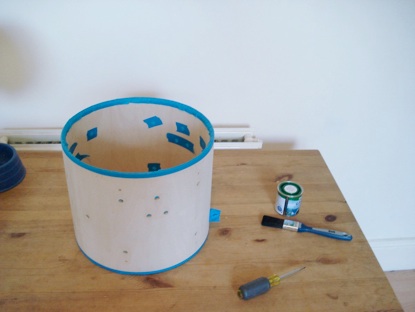
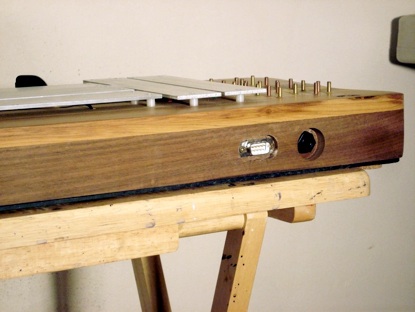
After running into several problems with using disc piezos over the several versions of this drum I decided to revisit the idea in a fundamental way. How would I do this if I was doing it from scratch. At first I decided to go with film piezo, but mount it in a way that instead of pressing onto them, I flicked/bent the tabs. This seemed like a decent compromise. I could control the Sidrassi/Tetrazzi from the drum without needing to touch the head itself. After getting stuck on figuring out how to mount the film so it wouldn’t tear/break it hit me like a ton of bricks. Little. Metal. Bars.
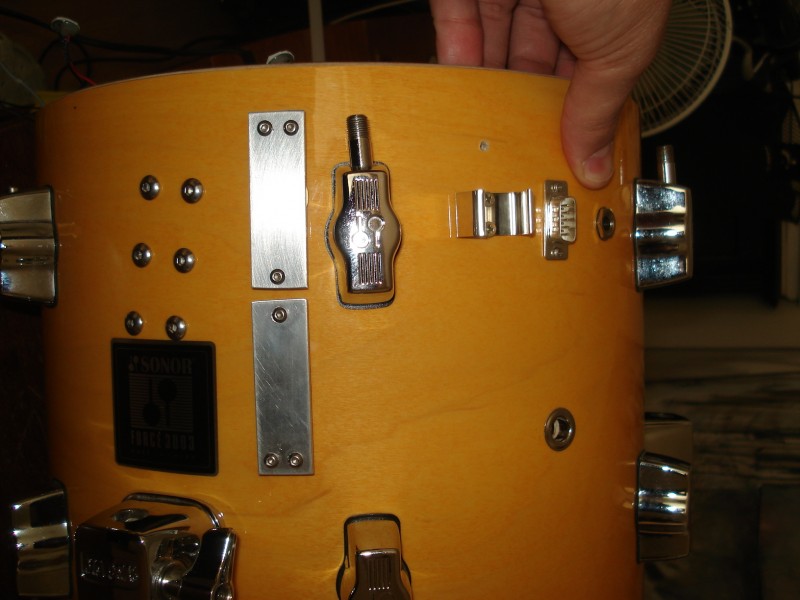
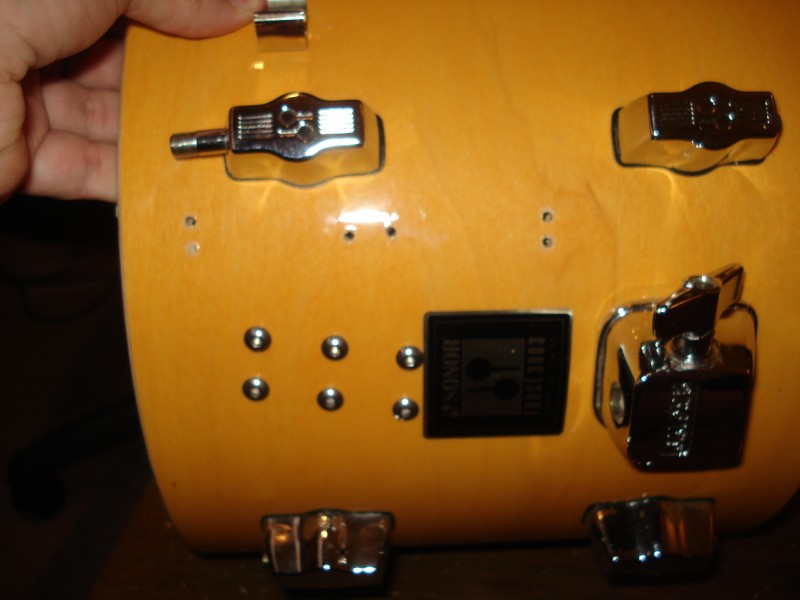
Instead of figuring out some ‘different’ way of controlling the Sidrassi/Tetrazzi, why not control it how I’m used to controlling it, by pressing little bars. I decided I would fabricate and mount four small metal bars on the side of the drum (two per side). It would look and play just like the instruments it’s controlling. An ideal solution.
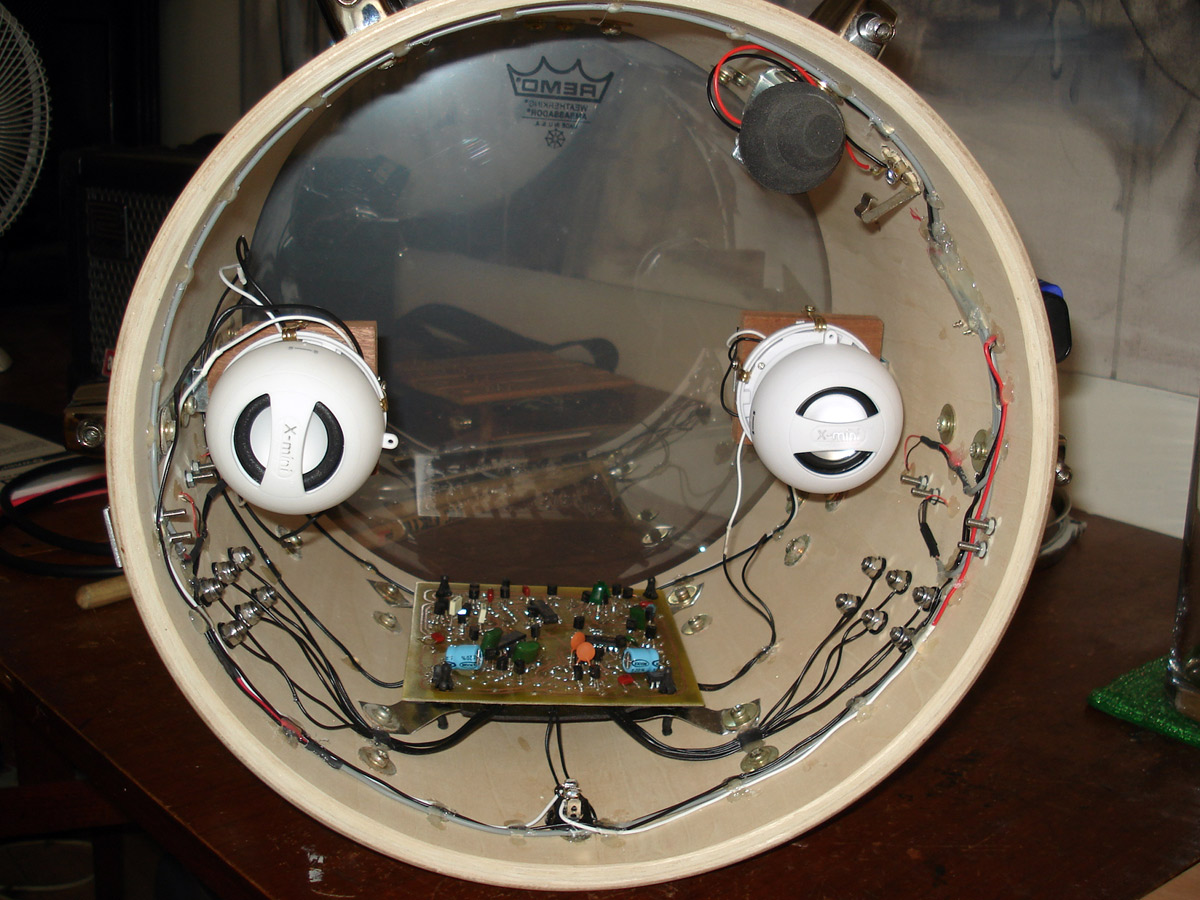
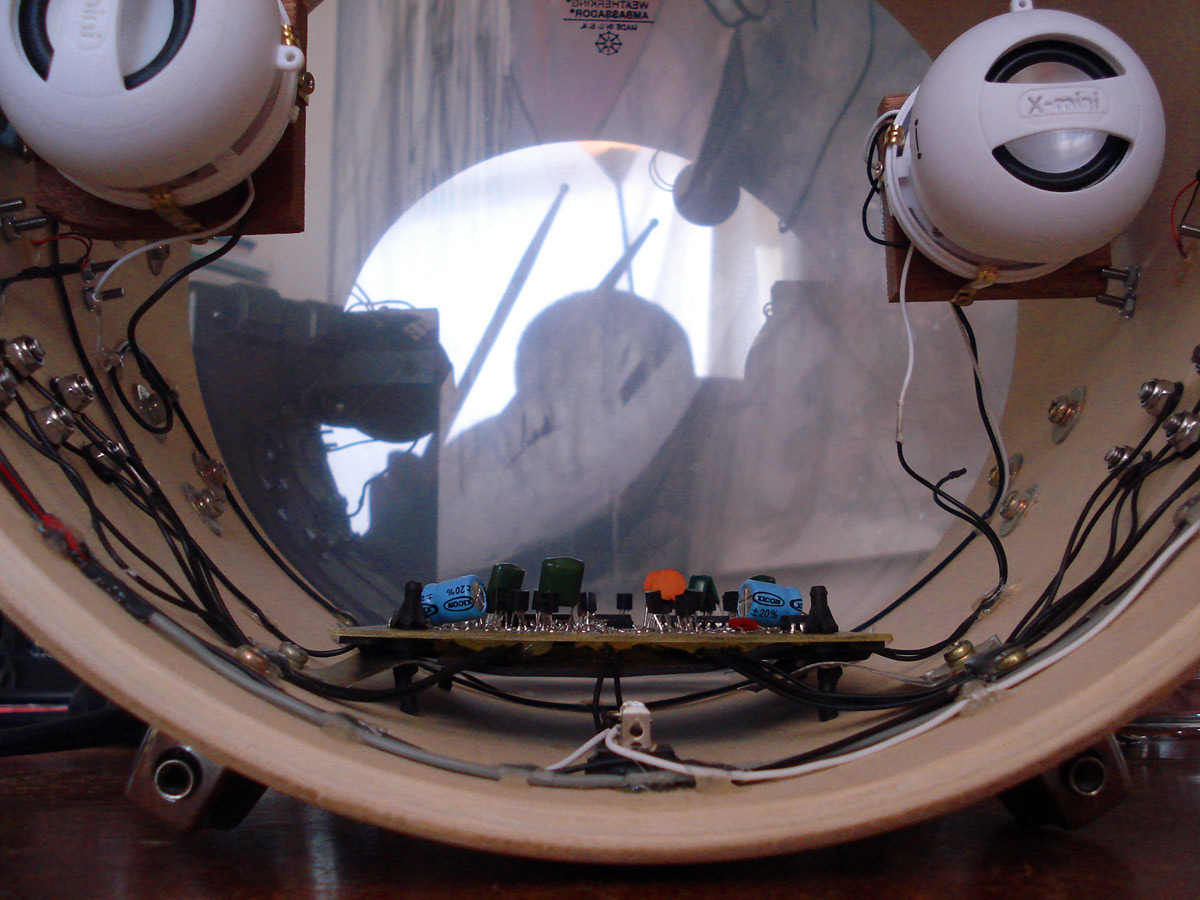
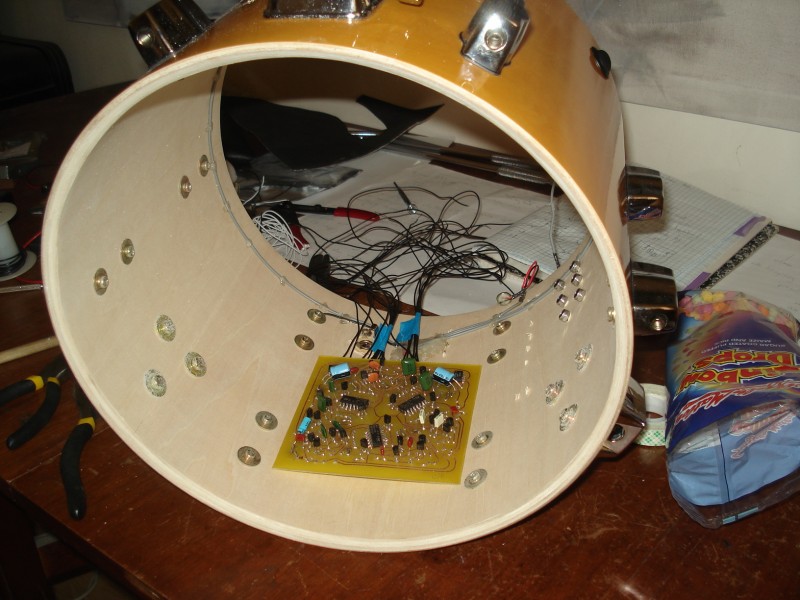
I also decided that I wanted to incorporate an Old Mr. Grassi into the drum. Literally IN the drum. I use my black box Old Mr. Grassi with my drumset, and other projects, all of the time but I hated having to interrupt what I was doing in order to reach over and grab it. I’ve been moving more of my recent modifications and builds towards this kind of ‘integrated’ setup. This includes my Electric Whisks and Party Bus sampler.
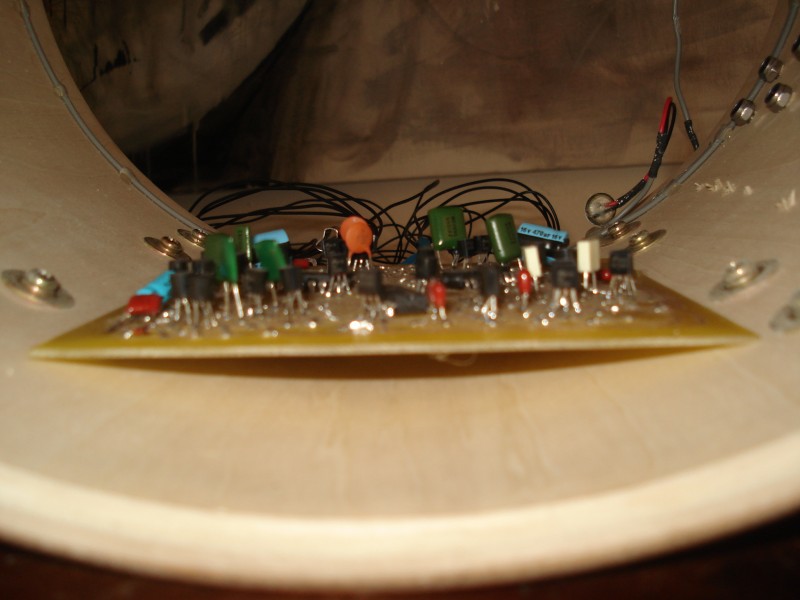
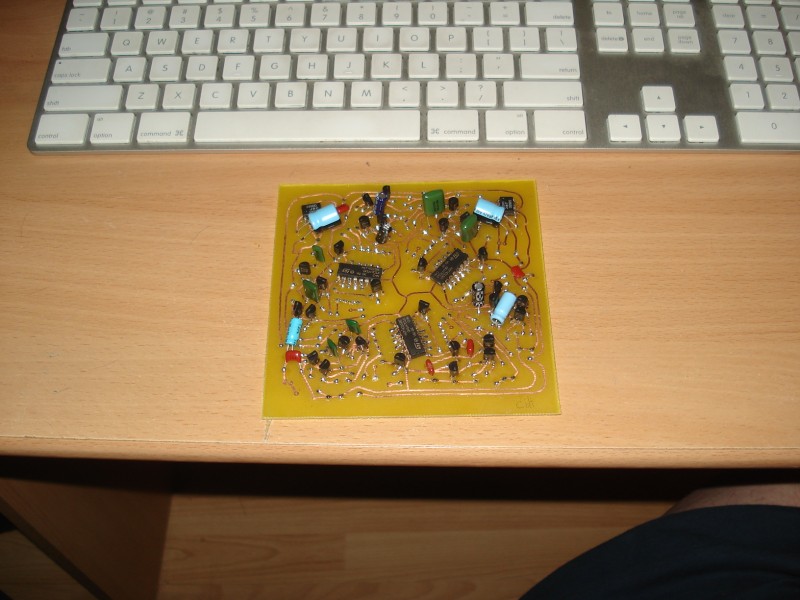
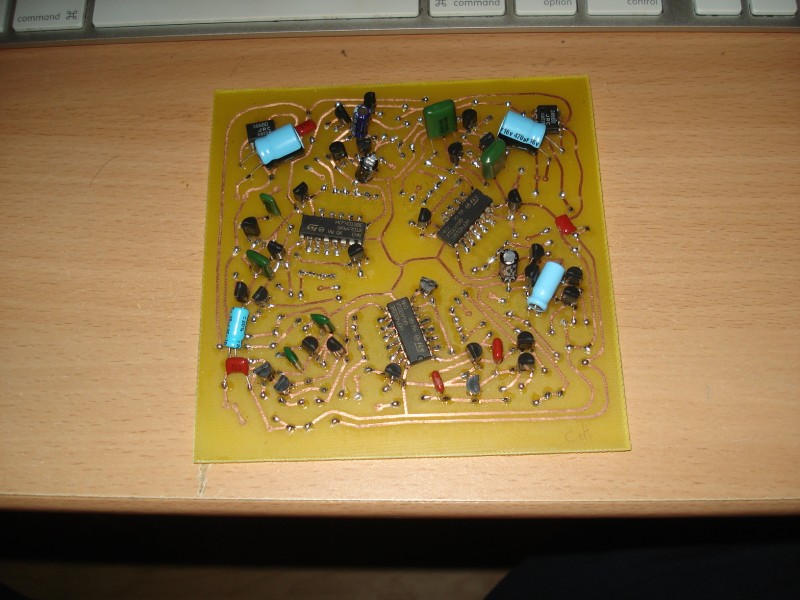
I had someone etch the paper circuit for the Grassi onto a proper PCB as I wanted something sturdier as it was going to live inside a vibrating drum. I built and tested the circuit and after fine tuning the “hairy capacitors” it was done. Incorporating it into the drum, however, was not as easy. I had several distinct problems to deal with.
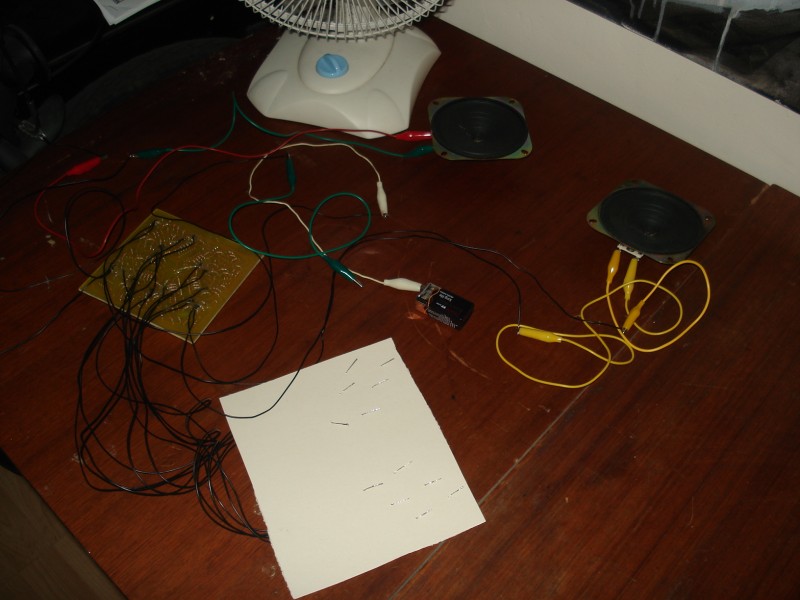
- Figuring out what kind of speakers to use
- Mounting those speakers in the drum
- Mounting the PCB in the drum
- Figuring out how/where to add a battery and on/off switch
- Figuring out what kind and where to mount the body contacts
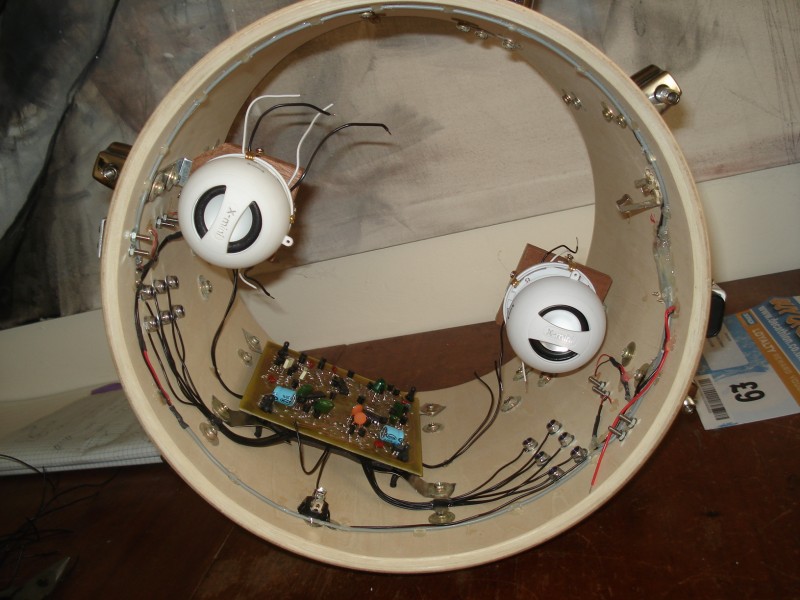
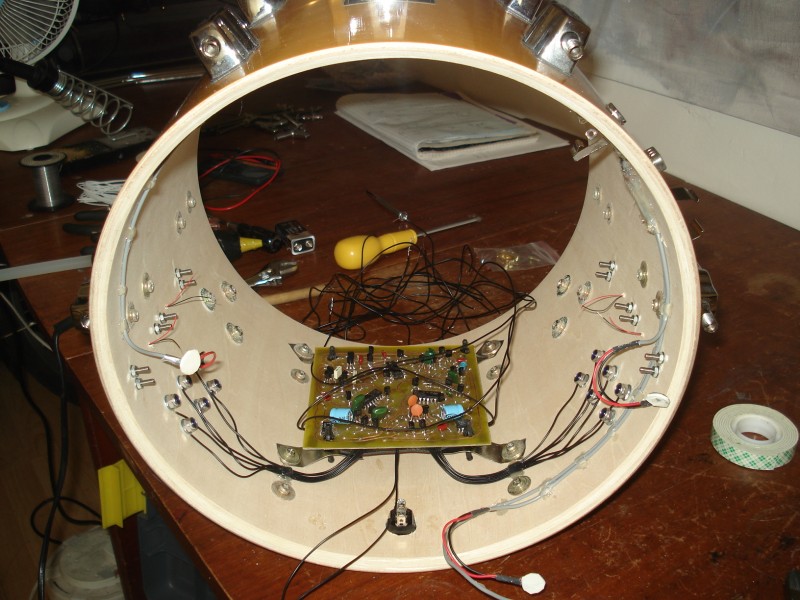
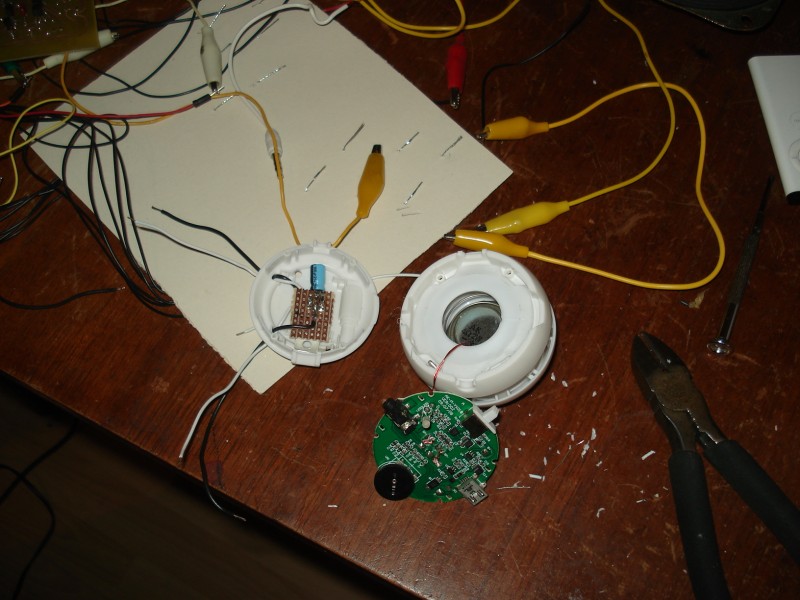
Each part of that was a pain and required testing/troubleshooting. In the ended I decided to use X-Mini II speakers and using their onboard amps (powered off the same 9v battery as the Grassi circuit). This meant I needed to regulate some 5v power for those speakers too. These speakers were plenty loud and also very compact, as to not effect the acoustic properties of the drum too much. The Grassi has built in 386-based amps so it can power speakers on it’s own, but that wasn’t loud enough. I gutted the batteries from the X-Mini’s I added an LM7805 to bring the 9v down to 5v for the speakers and this provided more than enough volume. I keep the volume on them around 80%.
For the mounting I used L-brackets for the speakers. I mounted a piece of square wood wood onto the L-bracket and and attached the speaker to the piece of wood with little metal picture frame hooks. The PCB was a bit tougher to figure out. I didn’t want a rigid mounting as I wanted to have as little vibration as possible present on the board. I ended up making little metal brackets out of altoid-tin grade aluminum and attaching the board to that using anti-vibration rubber posts made for mounting computer PCB. This worked like gang busters.
The battery/switch wasn’t too big of a problem. I mounted the 9v battery on the outside of the tom using a 9v battery bracket, so I can change it easily. The on/off switch I mounted near the rim of the drum on the side facing me.
For the body contacts I went with button head allen bolts as they look smart, are low profile, and easy to work with (as I can just wrap the wire around the bolt and tighten down on the nut). I ran into the weirdest problem of all in this step. When I first put everything together and turned it on, it wasn’t working right. It was making noise as if all the body contacts were touching. I disconnected each part of the circuit independently and tested. I did this until I was left with just the PCB and the body contacts, and it kept making the noise. I disconnected the body contact and the noise stopped….
It turns out that the wood of the drum was either conducting a small amount of electricity (?!) or more likely, was effecting the impedance of the body contacts. I tested different ways to isolate the bolts and ended up mounting nylon washers on the inside/outside of the drum and wrapped the shaft of the bolt with shrink tubing. This did the trick.
You can hear the v1 version of the Sidrassi-Tom towards the beginning of this video:
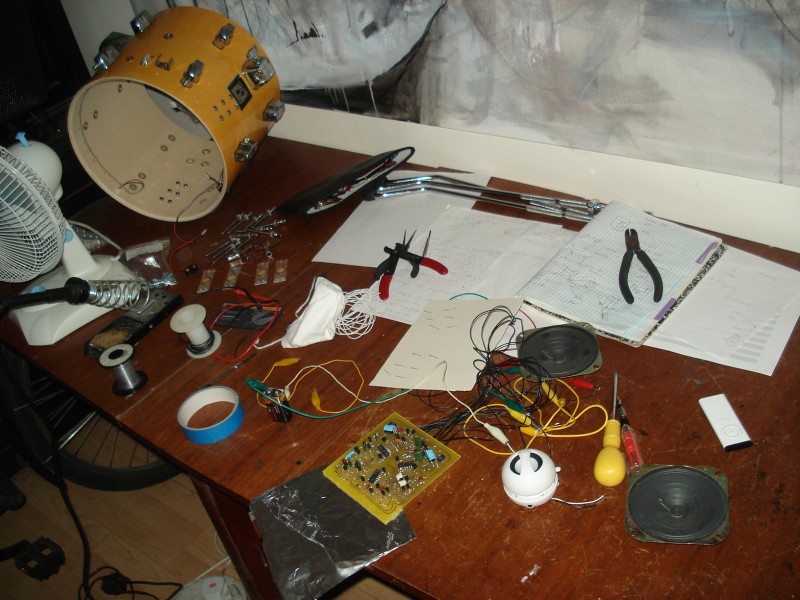
Check out the pictures below of the old and new builds.